Googleスプレッドシート + Stein を連携したNode-REDでコーディング無しで触ってみましょう。
enebular からダッシュボードによる入力部分を作ったり、Google スプレッドシートにデータを保存したりと、ユーザーに端末を渡して使ってもらう際の参考になりそうなTIPSを盛り込んで Discover Flow に公開しました。
Stein の準備
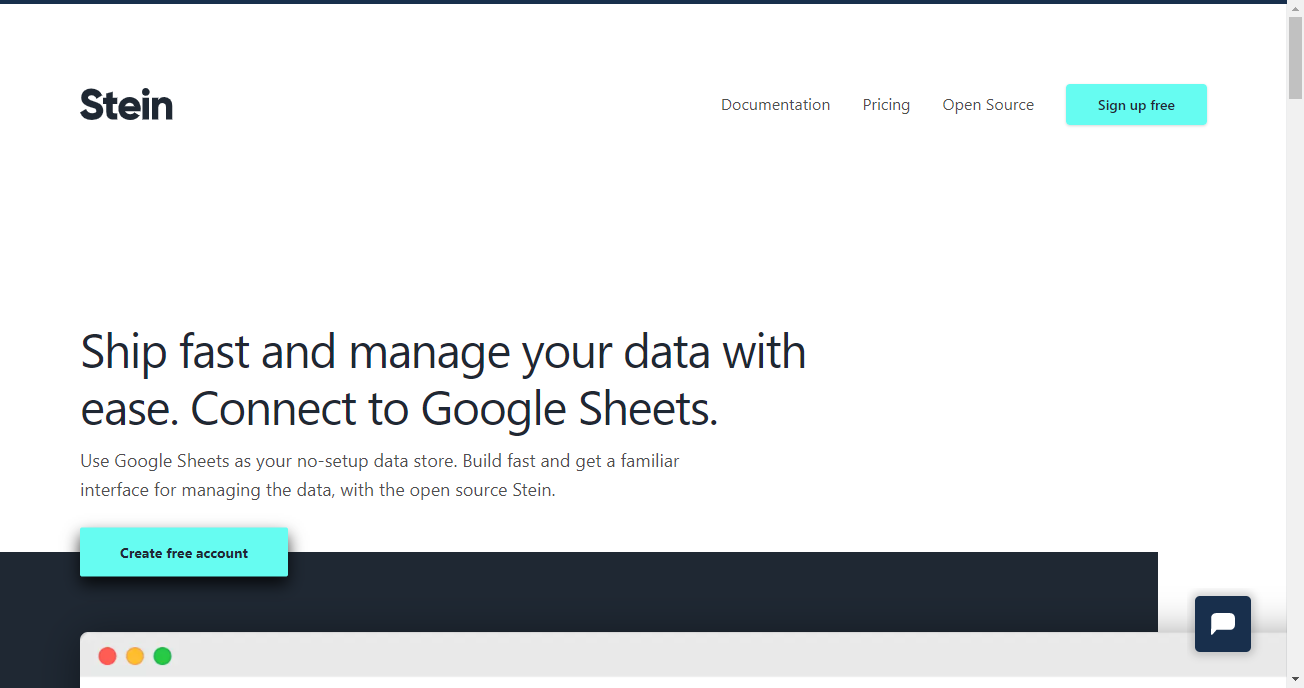
まず、Stein https://steinhq.com/ にアクセスしてアカウントを準備しましょう。
右上の Sign up free ボタンをクリックします。
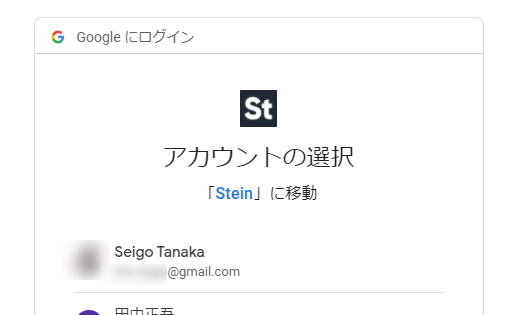
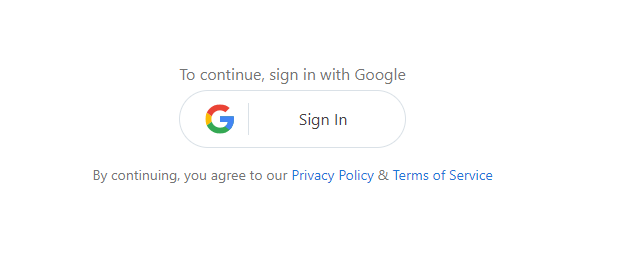
関連付ける Google アカウント を聞かれるので選択します。
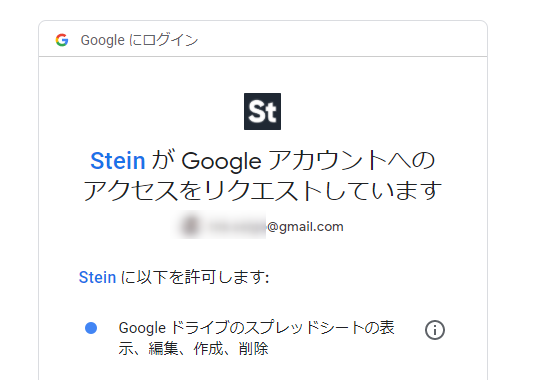
「Stein が Google アカウントへのアクセスをリクエストしています」と聞かれるので許可します。
サインアップ完了してアカウント作成完了です。
1つのシートを作成して API URL を発行します
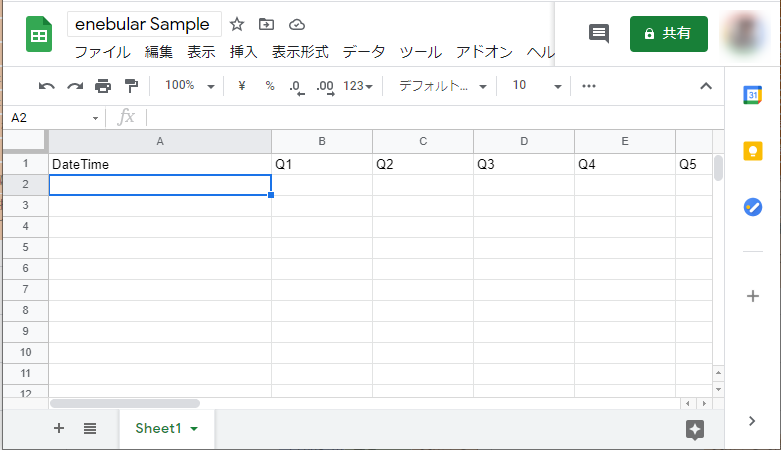
このように、1行目に
- Datetime
- Q1
- Q2
- Q3
- Q4
- Q5
という項目が並んでいるスプレッドシートを作ります。

シート名は Sheet1 としましょう。こちらのスプレッドシートのURLをコピーしておきます。

Stein に戻って Create a new API で先ほどのスプレッドシートのURLを入力して Create API ボタンをクリックして API を作成します。
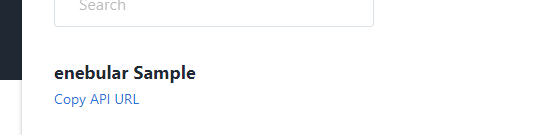
できあがったら Copy API URL をクリックして
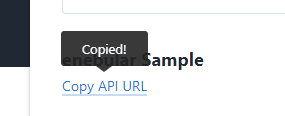
クリップボードにコピーされるので、テキストエディタにメモしておきましょう。
Discover Flow をインポート
今回の仕組みの Discover Flow はこちらです。
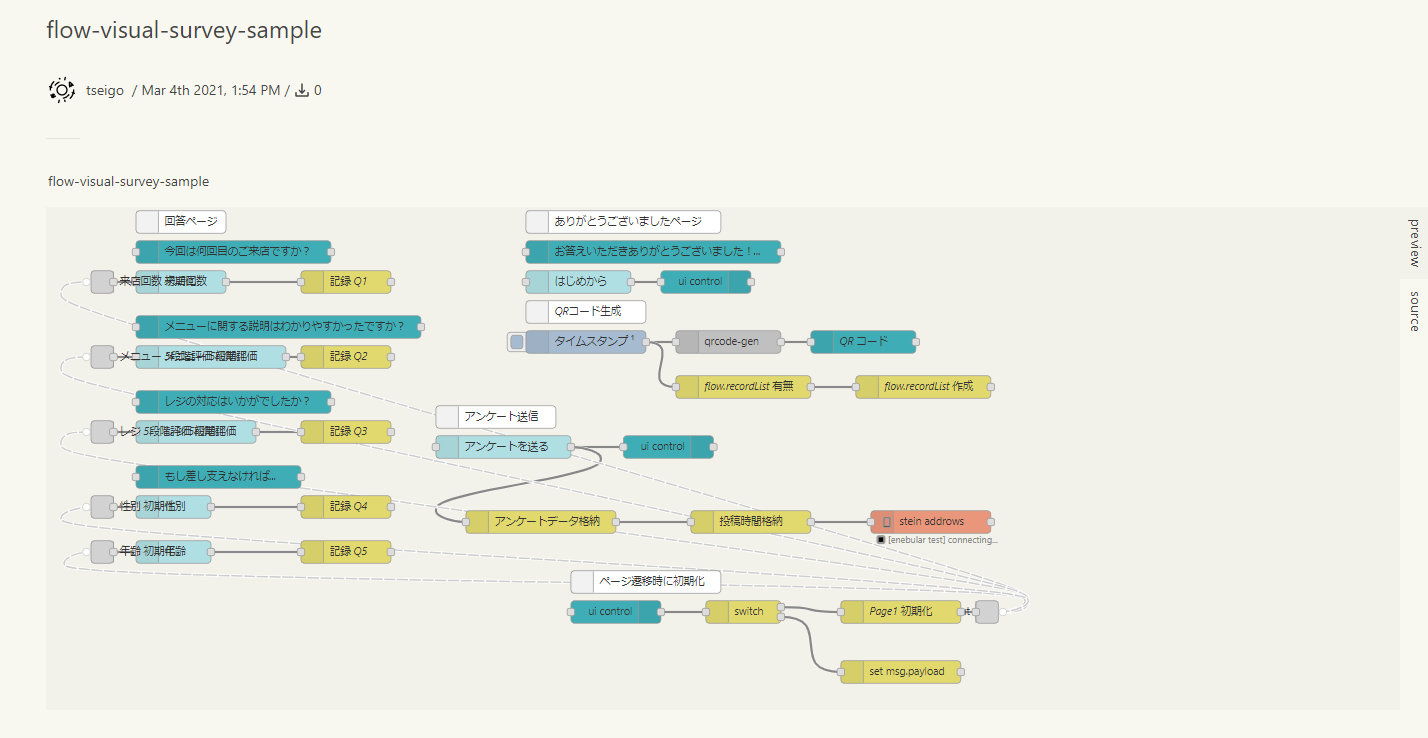
こちらをインポートします。
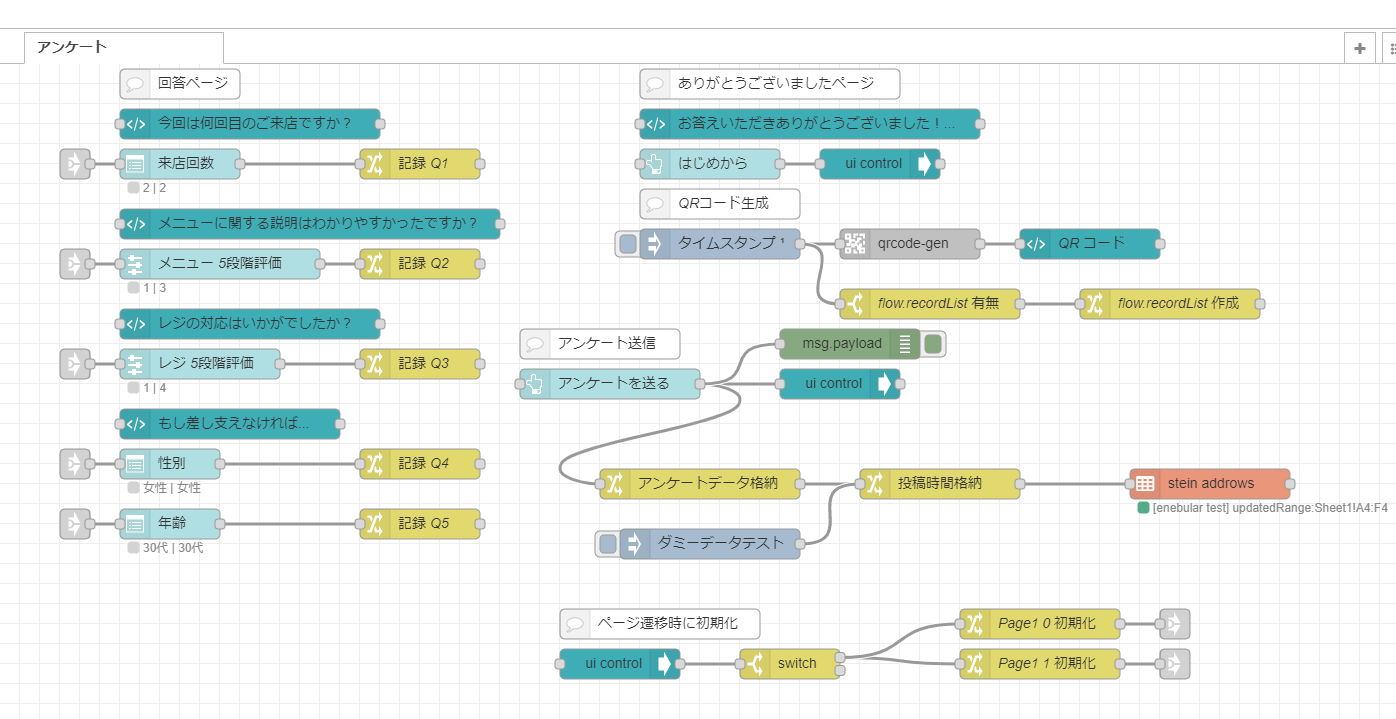
するとこのように表示されます。
Stein の設定
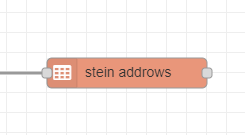
こちらの stein addrows のノードをクリックします。

鉛筆ボタンをクリックして編集します。
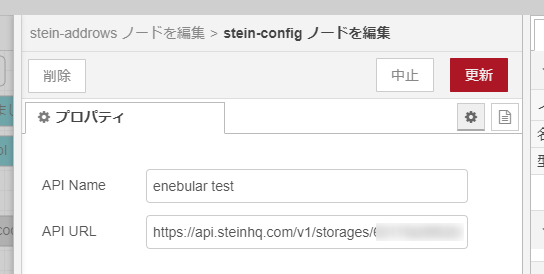
Stein の設定画面が表示されるので API URL に、先ほどコピーした API URL をペーストして更新をクリックします。
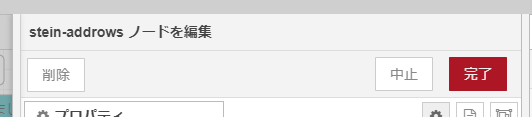
完了ボタンをクリックします。

デプロイ ボタンをクリックします。
これで設定は完了です。
Stein が動作しているか確認してみる
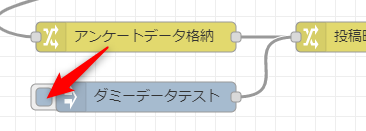
ダミーデータテキストという inject ノードのボタンをクリックしてデータを送ります。
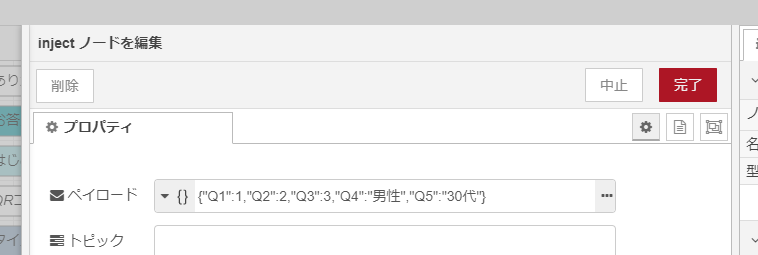
inject ノードで送るデータ(ペイロード)は、このようになっています。

inject ノードをクリックすると stein addrow ノードが反応します。

このように、Google スプレッドシートの設定があっていれば、このようにデータが追加されます。
動かしてみる
先ほどの対応で動作確認ができたので動かしてみましょう。
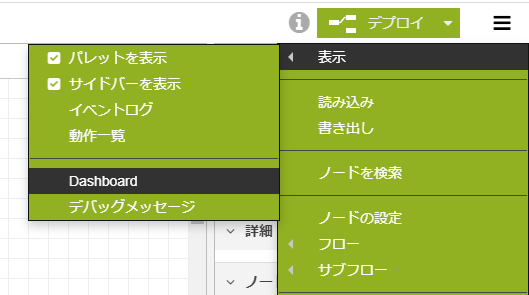
右上の メニュー > 表示 > Dashboard をクリックすると、サイドバーにダッシュボード タブが表示されます。
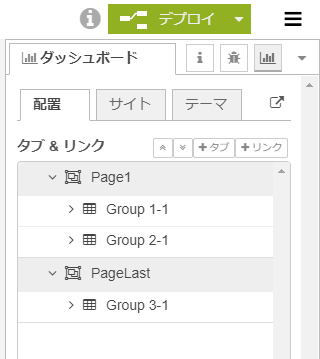

をクリックしてダッシュボードを開きます。
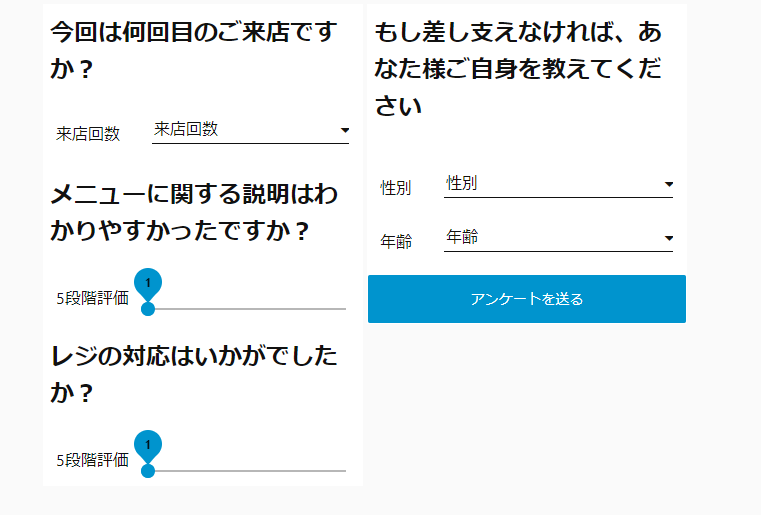
試しに回答し、「アンケートを送る」をクリックしてデータを送ってみましょう。
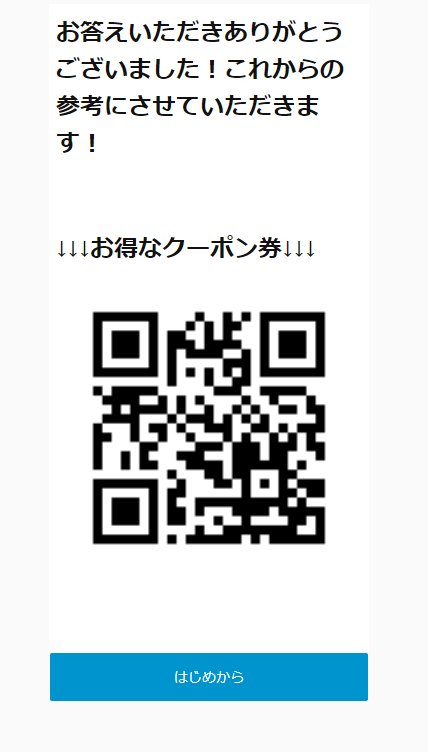
クーポン券が表示される、送信後ページに移動したらデータが送られているはずです。

Google スプレッドシートを確認するとデータが追加されています。
QR コードの変更のやり方
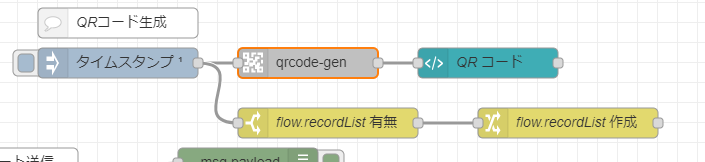
送信後ページでクーポンを想定した QR コードがありますが、こちらのフローで変更できます。
qrcode-gen のノードをダブルクリックして設定できます。
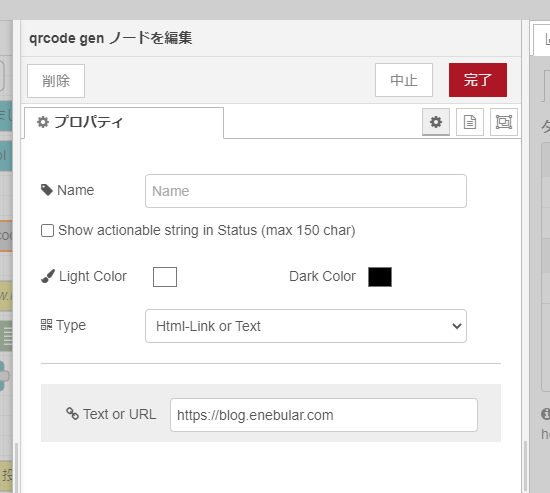
Text or URL の項目を変更して、デプロイすれば変更されます。
今回は、ビジュアル アンケートの仕組みをNode-REDのダッシュボードと、Googleスプレッドシート + Stein で連携して実現してみました。今回の仕組みはサンプルですが、設問を変更したり、クーポンQRコードを調整したりと、いろいろ拡張が可能ですので、ぜひ参考にしてみてください!


