スプレッドシートのような操作感でデータを管理できる Airtable というサービスがあります。
node-red-contrib-airtable (node)
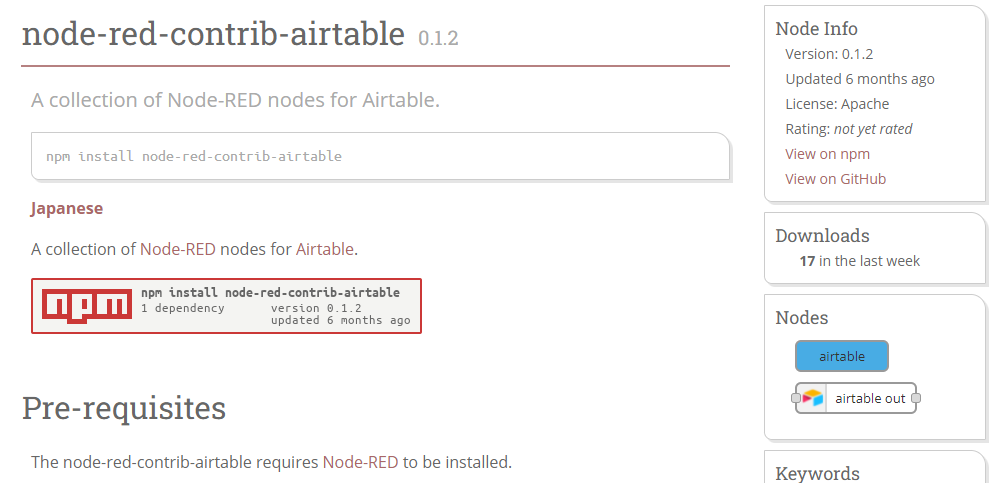
APIも使いやすくデータの読み書きもしやすいうえ、Node-RED のノードもあって扱いやすいです。今回は enebular でのセットアップから簡単なデータの読み込みまでを説明します。
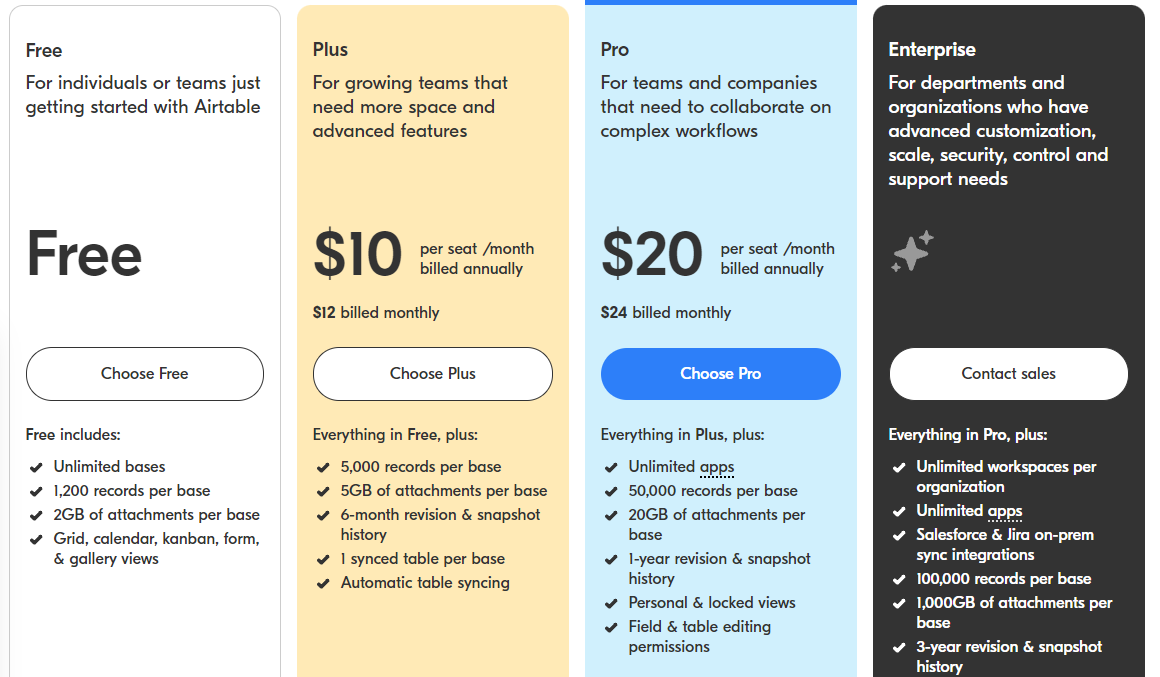
Pricing – Airtable で 価格表を確認すると 2021/10 現在、
 ✓ 無制限の Base
 ✓ Base あたり1,200レコード
 ✓ Base あたり2GBの添付ファイル
 ✓ グリッド、カレンダー、かんばん、フォーム、およびギャラリービュー
が無料枠で含まれるので、とりあえず触ってみても基本的な機能を体験しやすいものになっています。
アカウント作成
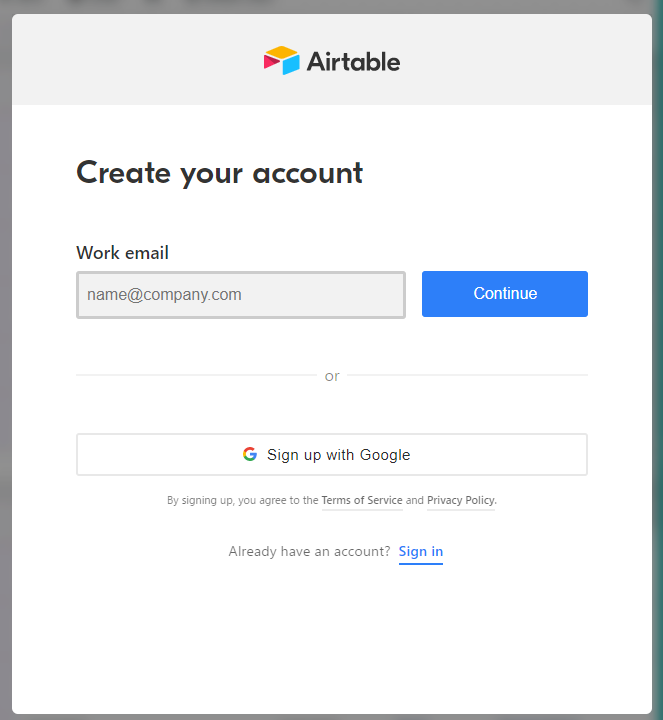
サインアップ からアカウント作成をすすめて準備をします。
データのかたまり Base を準備する
AirTable ではスプレッドシートのようなデータのかたまりを Base と呼びます。
英語ですが、こちらの記事 Creating a new empty base も参考になります。
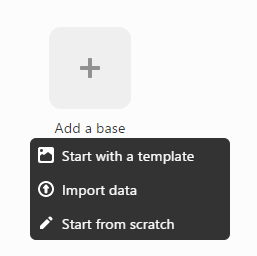
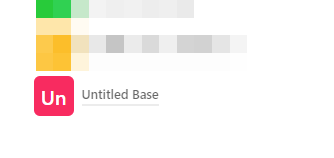
Add a base のボタンから Start from scratch から、シンプルなテーブルではじめます。
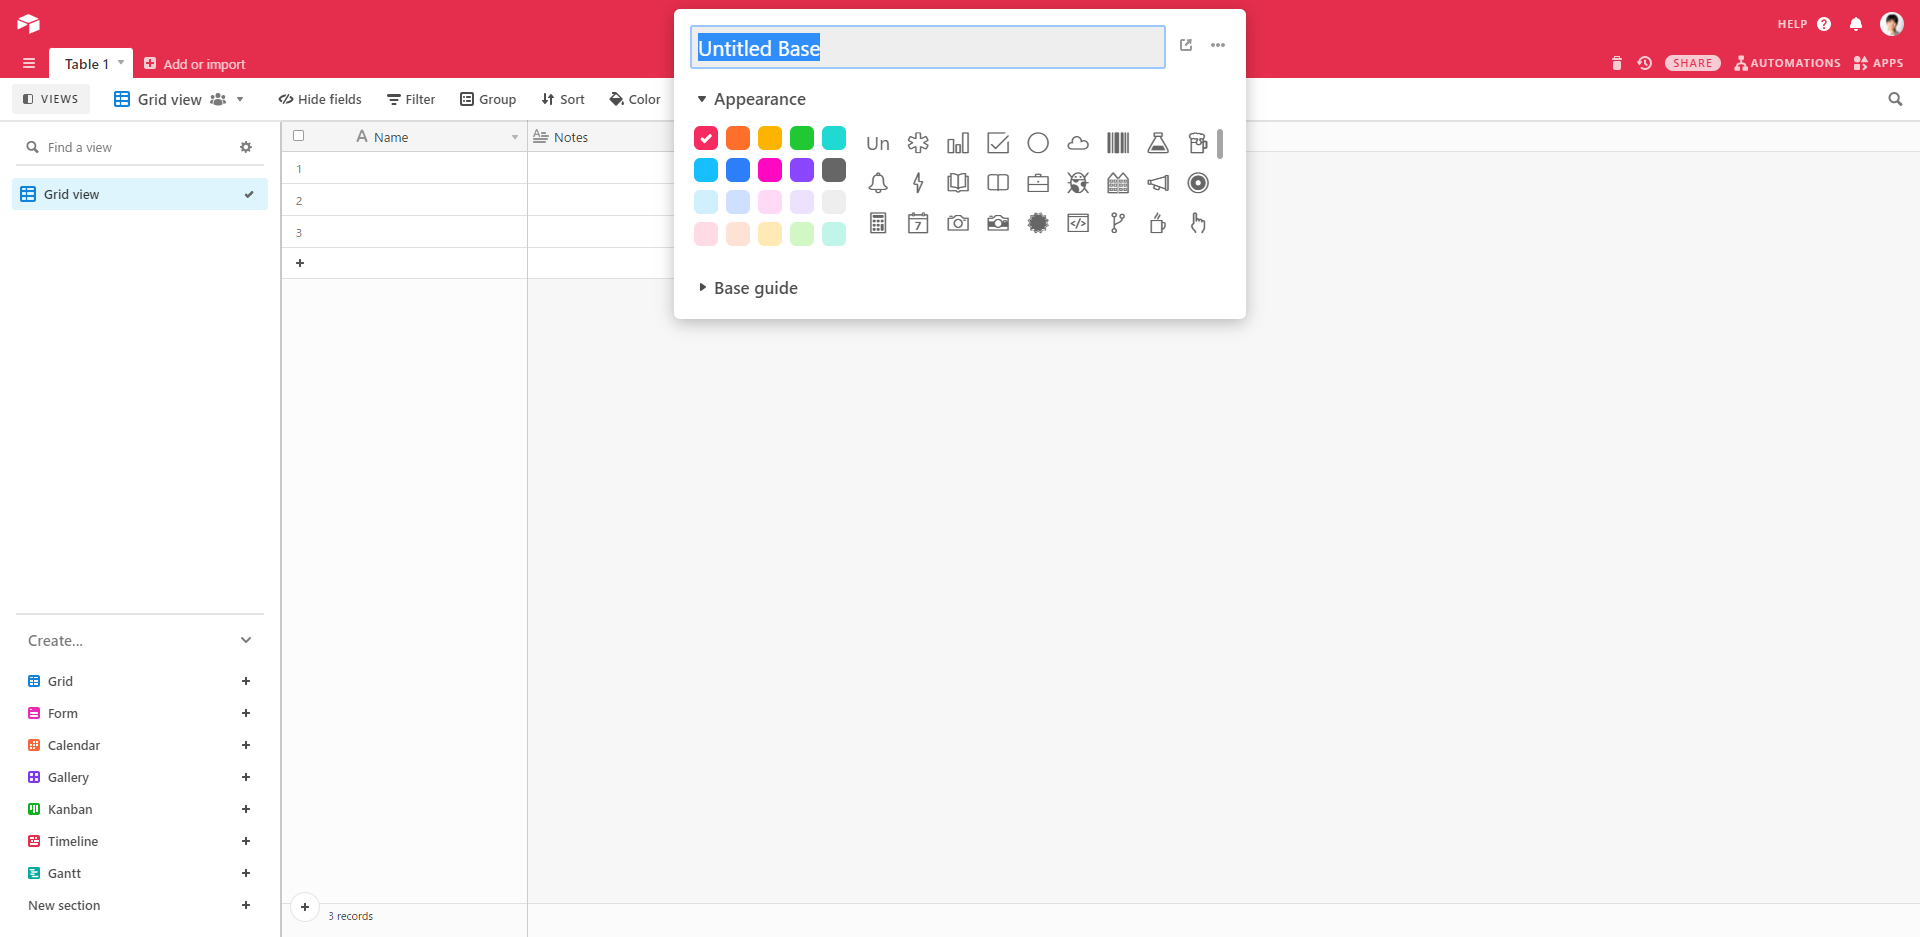
Untitled Base ができます。
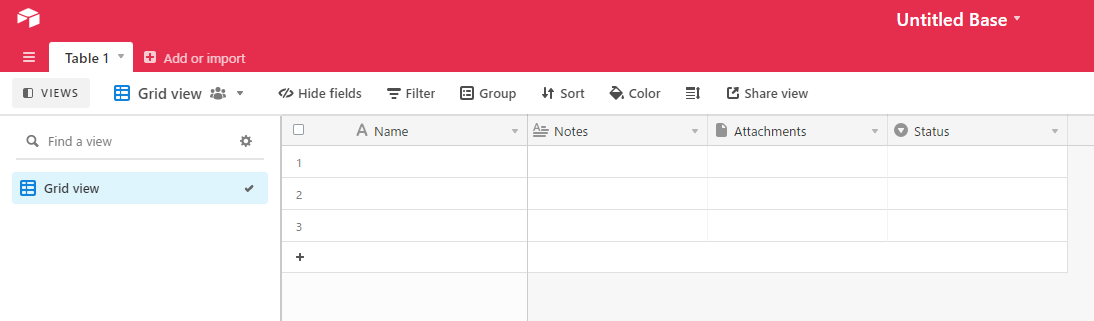
Table 1 を見ます。Name ・ Notes ・ Attachments ・ Status という列ができています。
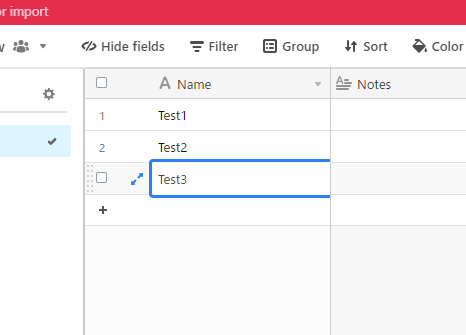
Name にデータを入れておきます。 Test1 Test3 Test3 と入力しておきます。
アカウントページで API Key をメモする
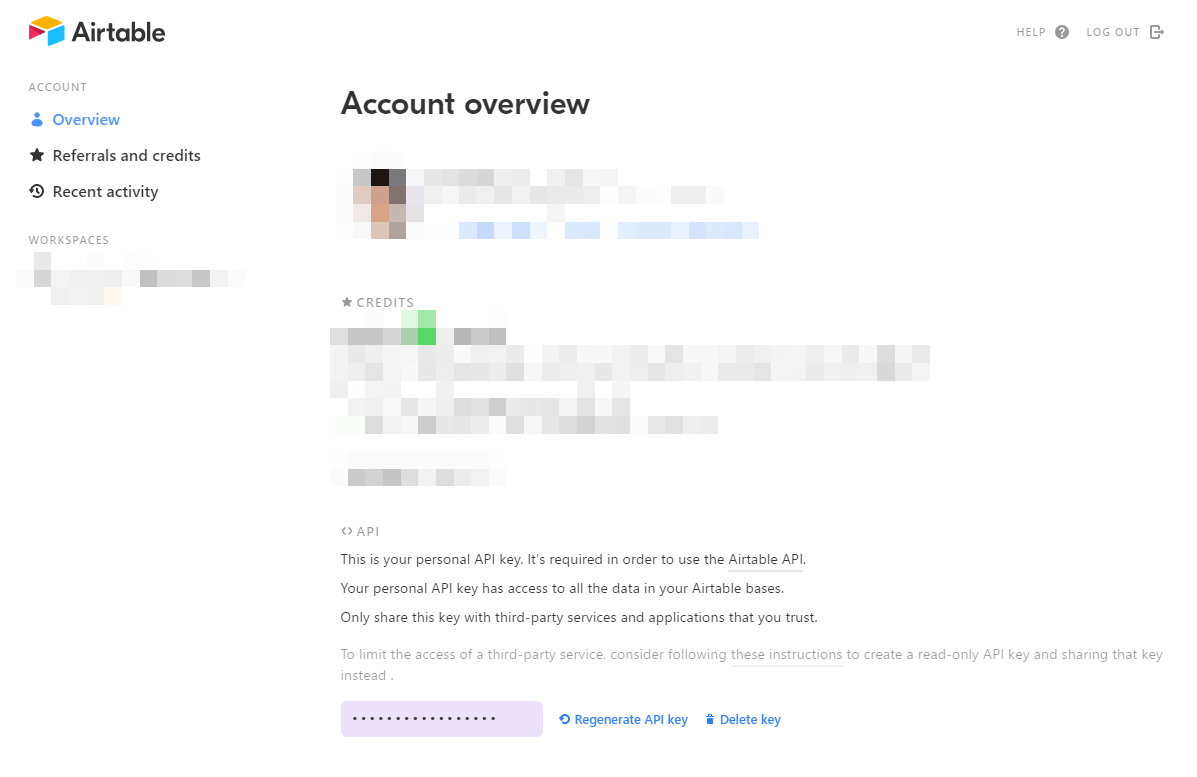
アカウントでログインした状態で アカウントページ に移動します。
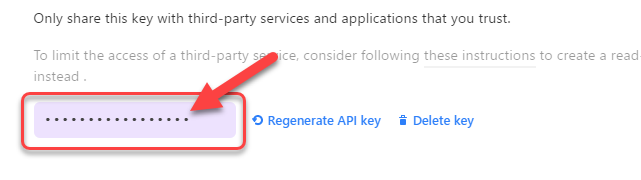
API のテキストフィールドをクリックすると API Key が表示されるのでメモしておきます。 Regenerate API key や Delete key をうっかりクリックしないように気をつけましょう。
今回作った Base の ID を取得する
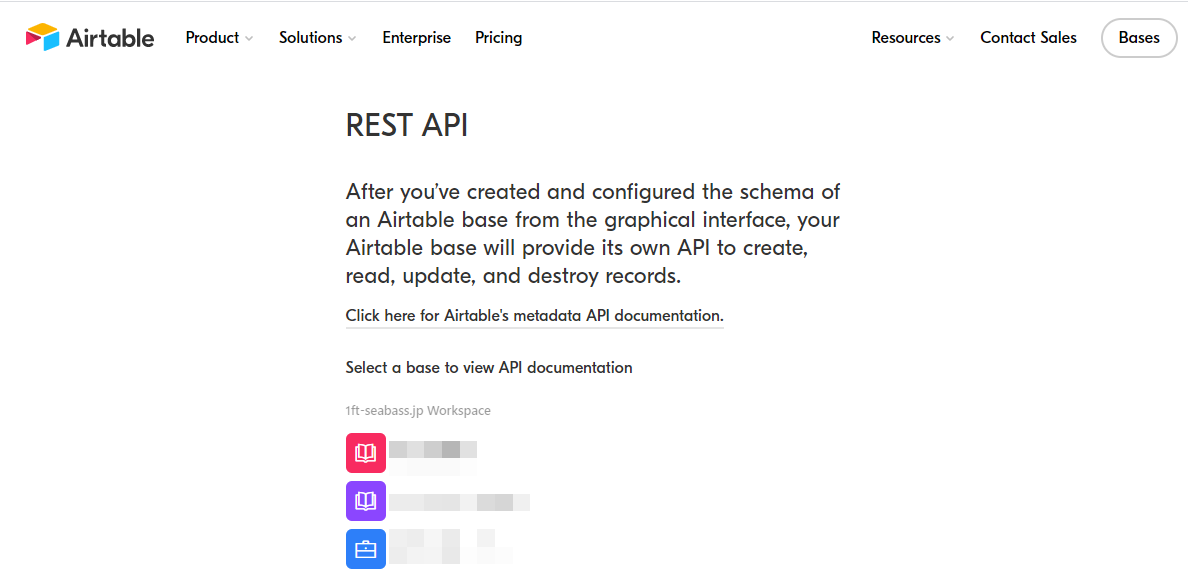
アカウントでログインした状態で REST API という各 Base の API 取得方法が見られるページに移動します。
今回作った Base をクリックします。
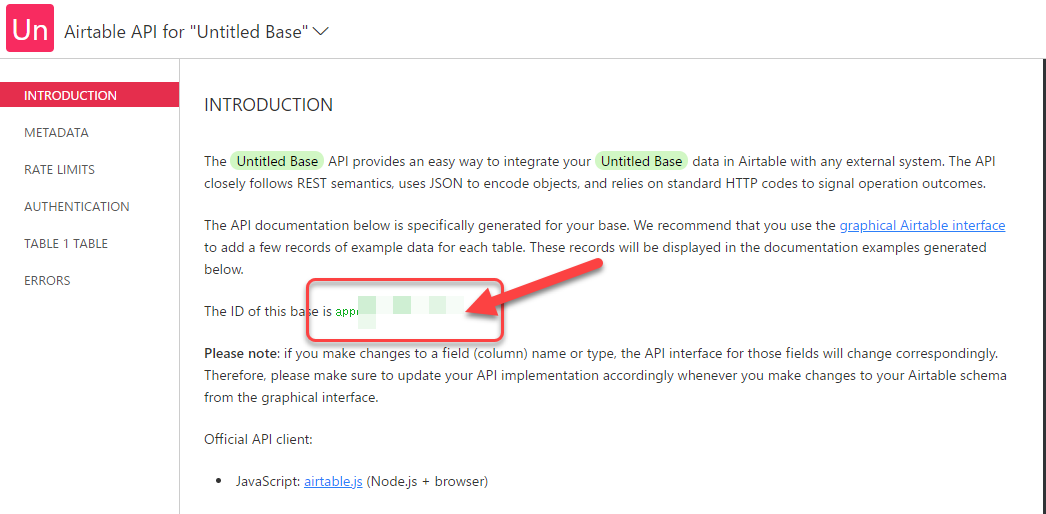
INTRODUCTION が表示されるので The ID of this base is のところの app ではじまる Base ID をメモしておきます。
これで準備は完了です。
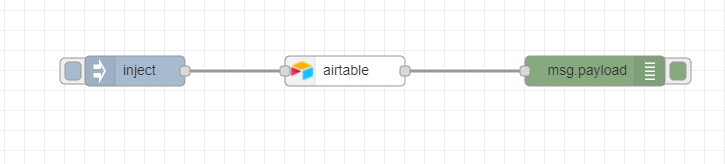
Discover Flow
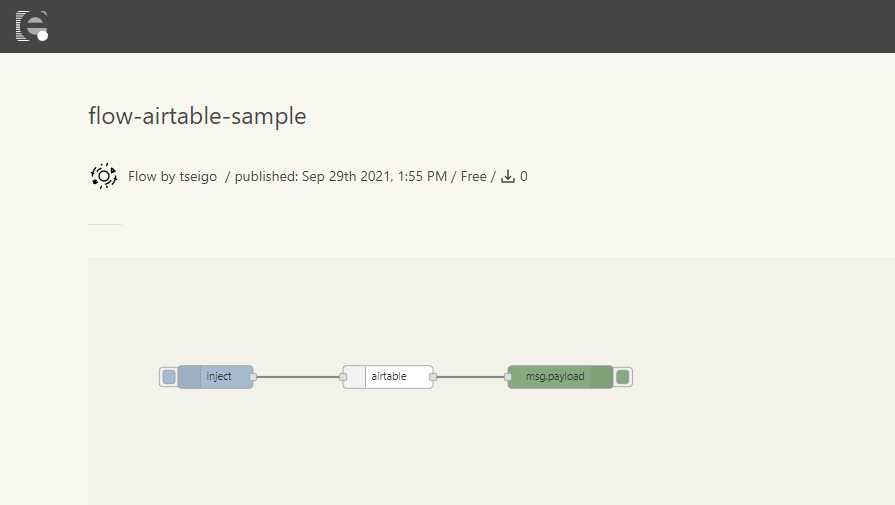
今回の Discover Flow をインポートします。
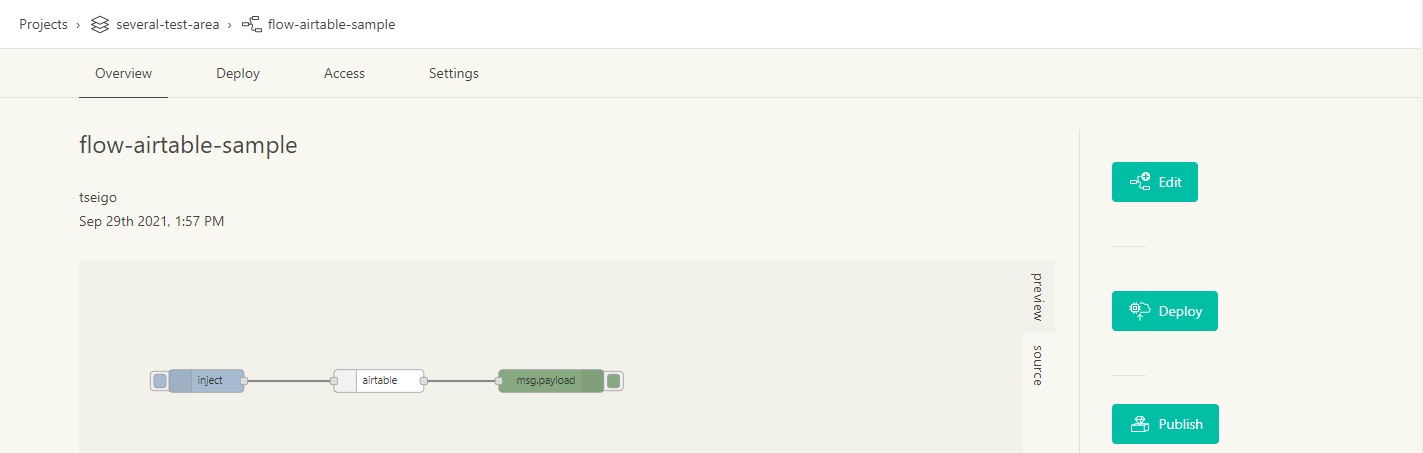
インポートの後、Edit ボタンをクリックして編集します。
フローが表示されました。
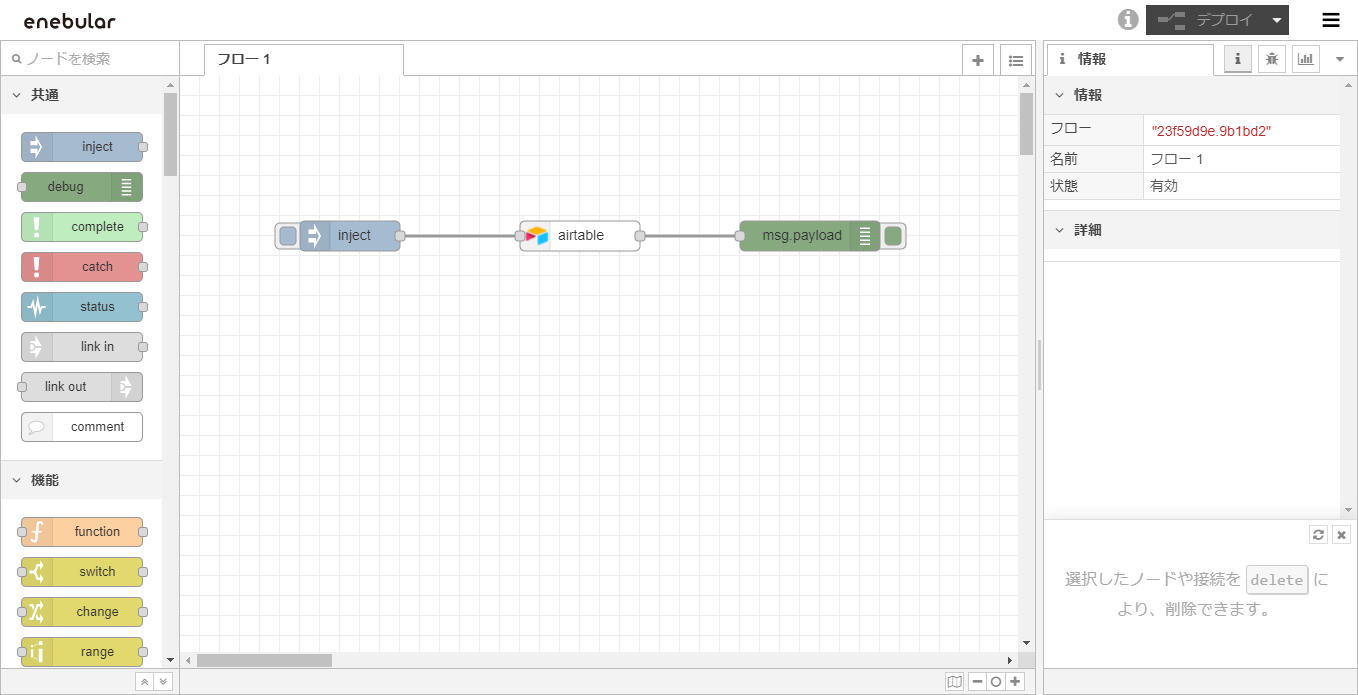
フローの設定をする

airtable ノードをダブルクリックしてプロパティを表示します。
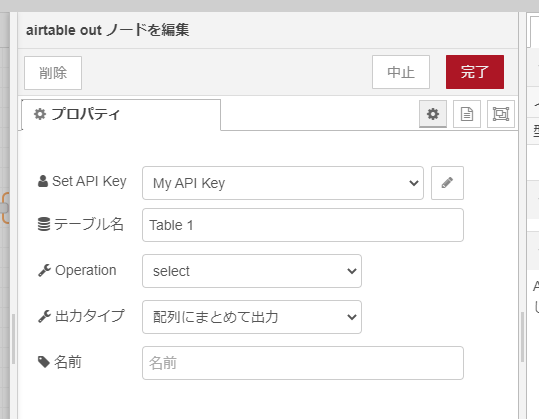
プロパティが表示されました。Set API Key が My API Key となっているので横の鉛筆マークをクリックします。テーブル名はすでに Table 1 で設定済みです。
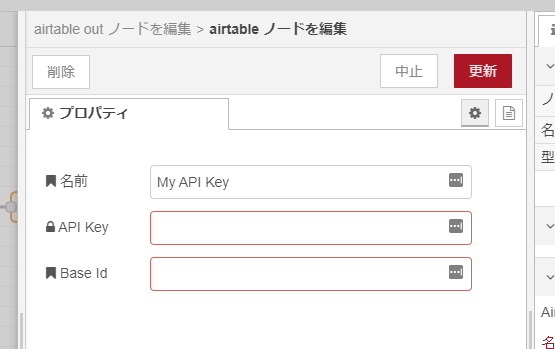
API Key と Base Id に入力していきます。
- API Key
- 先ほどメモした API Key
- Base Id
- 先ほどメモした Base の ID
を入力して更新をクリックします。
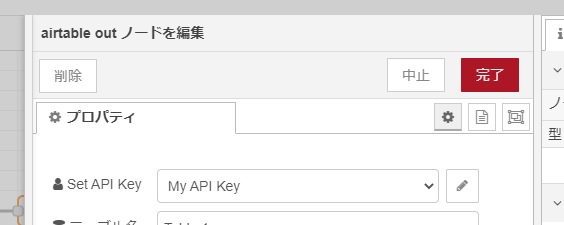
完了をクリックします。
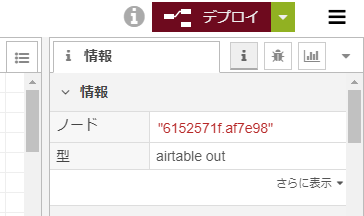
デプロイをクリックして今回の動作を反映します。
動かしてみる
デプロイしてたら動かしてみましょう。
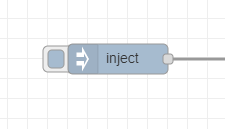
inject ノードをクリックします。
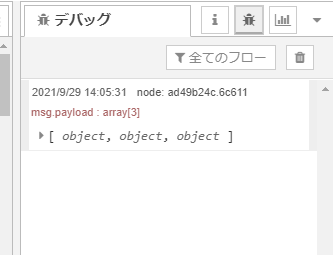
クリックするとデバッグタブに値が3つ表示されます。
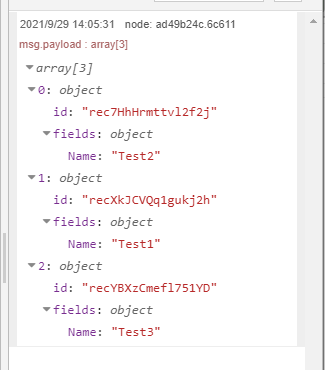
無事、仮で入力した Test1 Test3 Test3 が表示されました。
このように、AirTable と Node-RED でデータが簡単に取得することができました。この手法だけでも、AirTable に Google スプレッドシートと同じようにデータを入力して直感的な GUI で管理できますし、 Node-RED 側でさらにダッシュボードに表示したり、他の API と掛け合わせて分析してみたりできますね!
その他にも、データを Node-RED 側から書き込んだり より細かく検索できたりと、さまざまなことが可能になるので今後ご紹介します。

")
")